If you are an adult that is ready to get braces, you may be considering Invisalign. The Invisalign aligner system, also known as Invisible braces, is seeing a surge in popularity, particularly among adults, and Invisalign is at the forefront of that popularity. Of course, like all treatments, Invisalign isn’t for everyone. If you are interested in the removable aligner system, consult your orthodontist to determine if Invisalign is the best option for you.
Once you and your Orthodontist have agreed that Invisalign is right for you, the process of developing a treatment plan begins. But what does that process actually entail? How does it differ from traditional braces? Here is everything you can expect once you’ve been deemed a good candidate for Invisalign.
What to expect
After your initial orthodontist exam your doctor will explain all of the steps you will take to your new smile. The process of fitting you for aligners begins. In the past your orthodontist would take a mold of your teeth, but those days are over. Now a 3D digital impression is the industry standard.
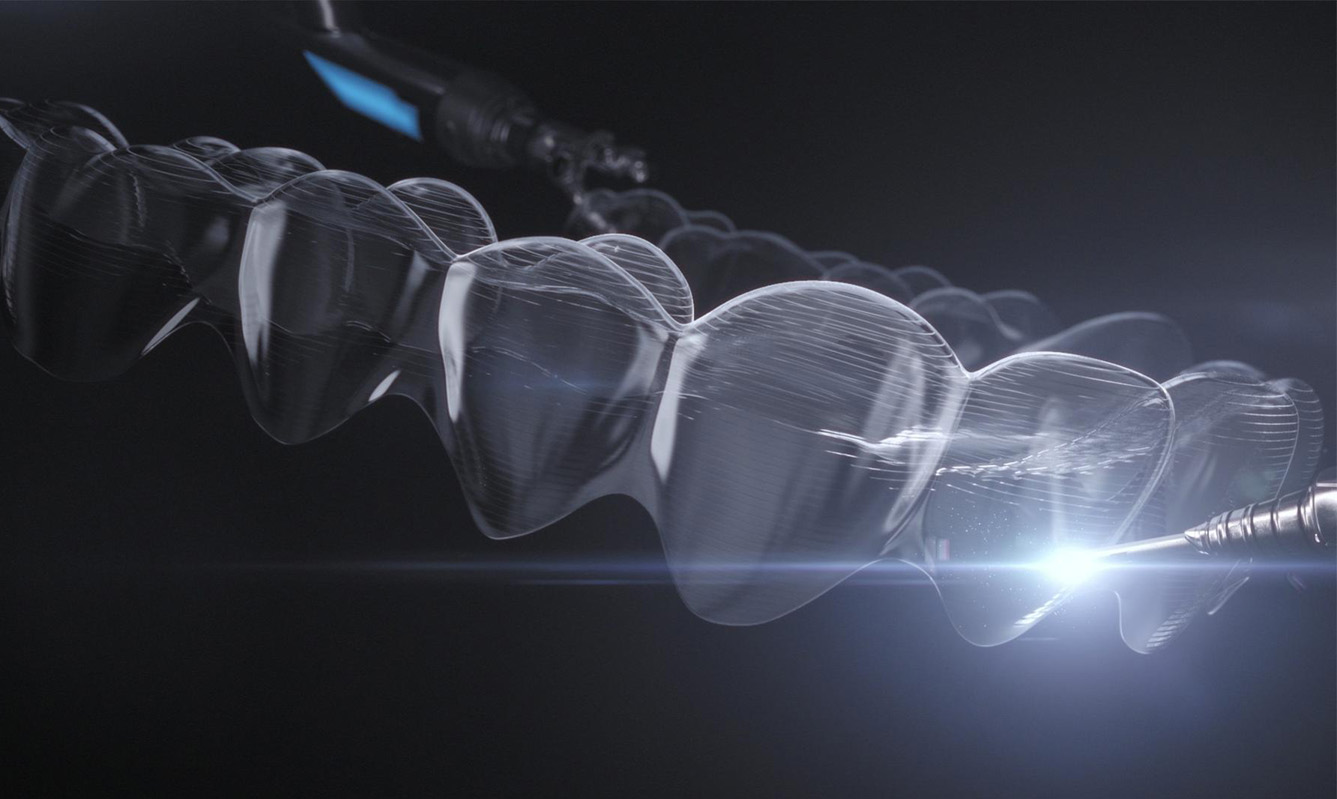
Once the digital scan along with photos and x-rays of your teeth are completed, they will be sent to Align Technology. The technicians at Align will collaborate with your orthodontist to design sets of aligners custom made for you. The aligners will then be fabricated and shipped to your practitioner’s office. Your orthodontist will give you these sets to take home, as well as Invisalign instructions for you to follow.
Watch your progress
During your treatment your orthodontist will take photos to track your progress. You may want to track your own progress, and take some before and after photos to document your Invisalign journey. You might be wondering how to take pictures of your teeth to best show the effects of wearing your aligners. Fortunately, it’s a relatively simple process.
Start by photographing your front teeth, using your hands or plastic spoons to pull your lips to the side. Then, photograph each side, followed by the top and bottom row chewing surfaces individually. Finally, repeat the process with your aligners on. Congratulations: you have your before photos! All you need to do now is start wearing your aligners and in no time you will be enjoying your beautiful new smile.
